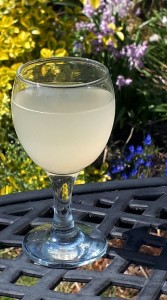
Amazake is a traditional Japanese drink made from koji. It can be drunk ice cold in Summer, or gently heated to provide a delicious warm drink in Winter.
It has recently been labeled as a super food due to it’s high nutritional content – including complex B vitamins and all the amino acids the body needs. It also contains oligosaccharide, a prebiotic important for gut health.
Amazake is normally made (see the Traditional Amazake Recipe) by holding a mixture of koji, rice and water at 60°C, but this requires specialist equipment. If you’d like to make amazake at home, using just a fridge, then you have to wait a little bit longer for your amazake to be ready (7 days) but it is well worth the wait!
It is really important that all equipment is sterilised before use. Amazake is normally made at 60°C, which helps to prevent dangerous bacteria from growing. Cold brewing is much more likely to result in bacterial growth, so special care must be taken to ensure everything is spotlessly clean before making amazake in this way.
- Sterilise all equipment before use.
- Ensure the fridge is kept cool (3- 4°C)
- Keep the amazake tightly sealed throughout the brewing process, to prevent bacteria from entering.
- Minimise the amount of air inside the brewing vessel by using the right sized vessel for the amount you’re brewing – you can add some extra cooled, boiled water to top up vessel if required.
If you follow strict hygiene practices you should create a safe, delicious, nutritious drink. But if you want to be extra cautious you could boil your amazake before drinking to ensure no nasties are present.
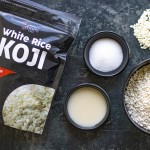
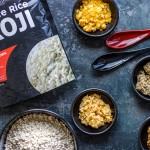
Which rice to use?
Any type of rice can be used to make amazake. In fact, you can even replace the rice with another source of carbohydrate, like oats, quinoa or buckwheat. Brown rice will result in a darker, nuttier flavour drink; whilst white rice tends to be a cleaner, sweeter flavour. Traditionally, amazake is made with mochi rice – this is a short grain Japonica rice, which is especially glutinous (sticky, not containing gluten) But just start with whatever is easiest for you to source and experiment from there.
Cold Brew Amazake
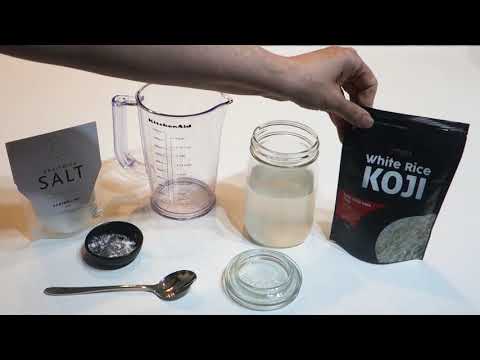
Ingredients
- 250 ml water boiled, then cooled
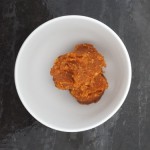
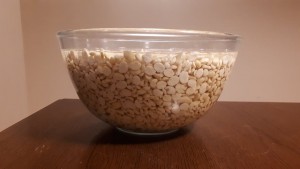
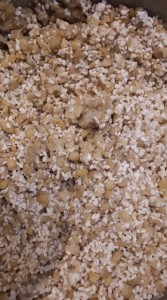
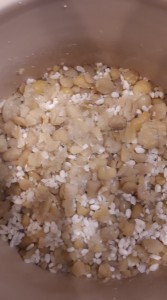
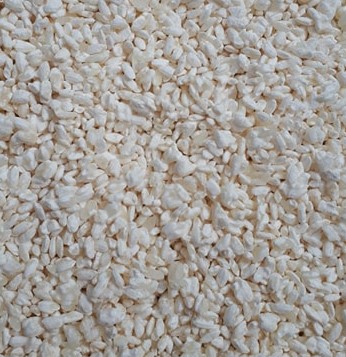
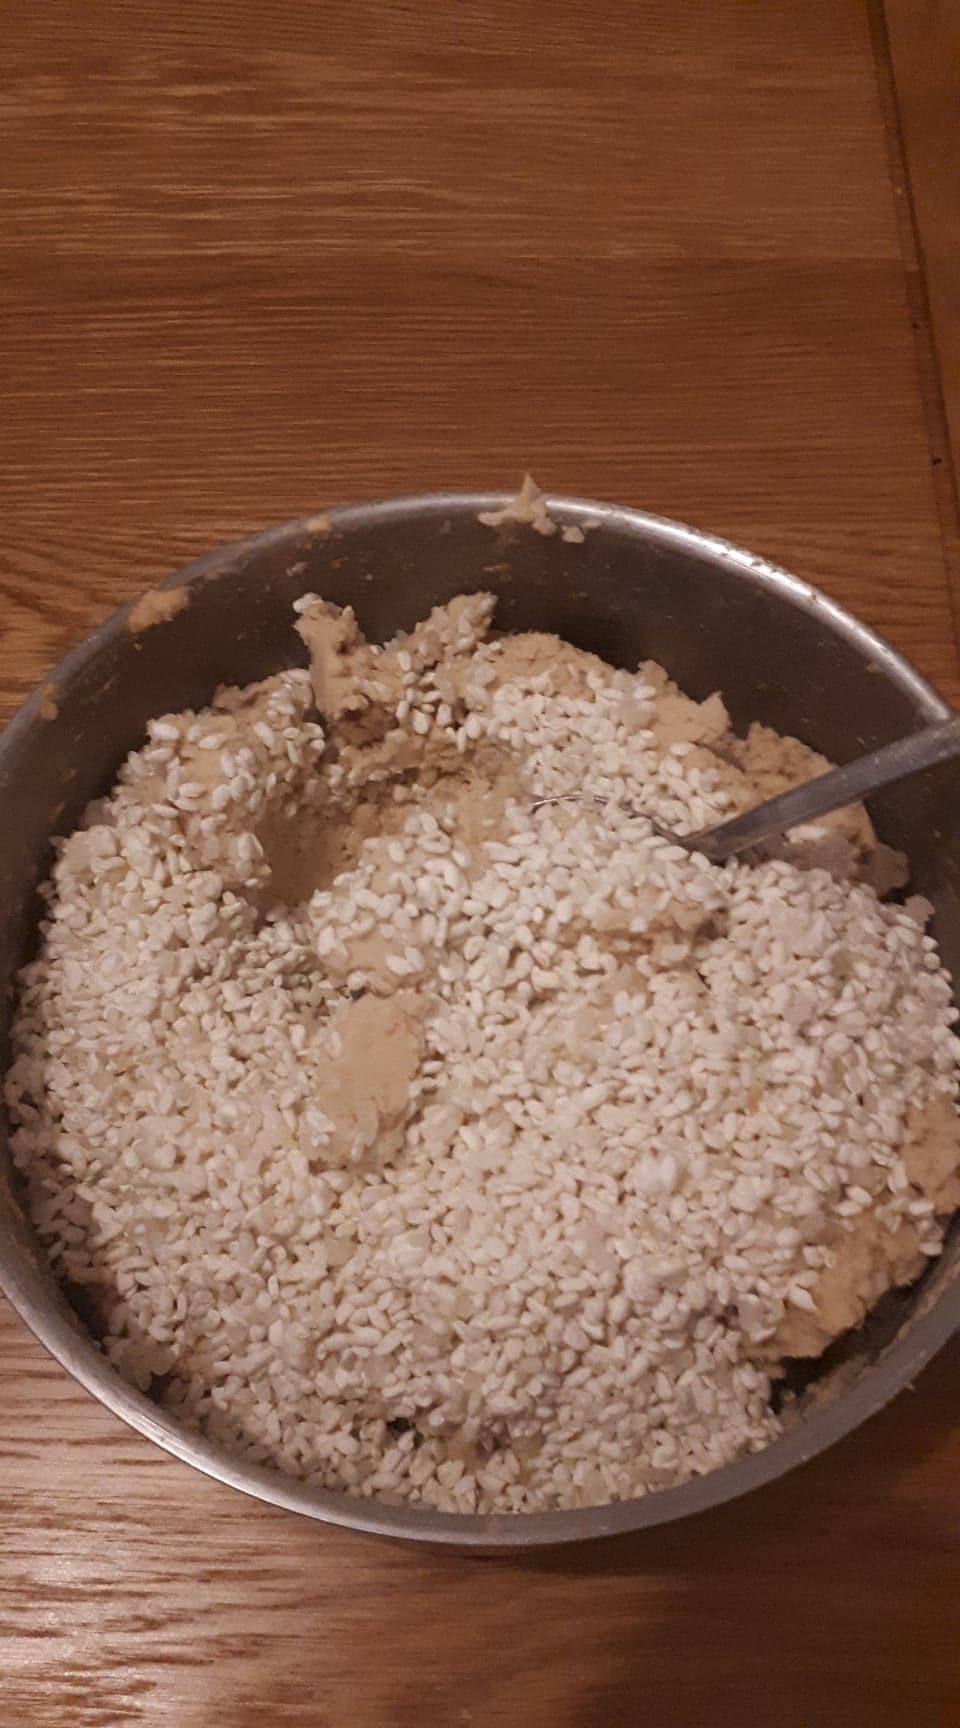
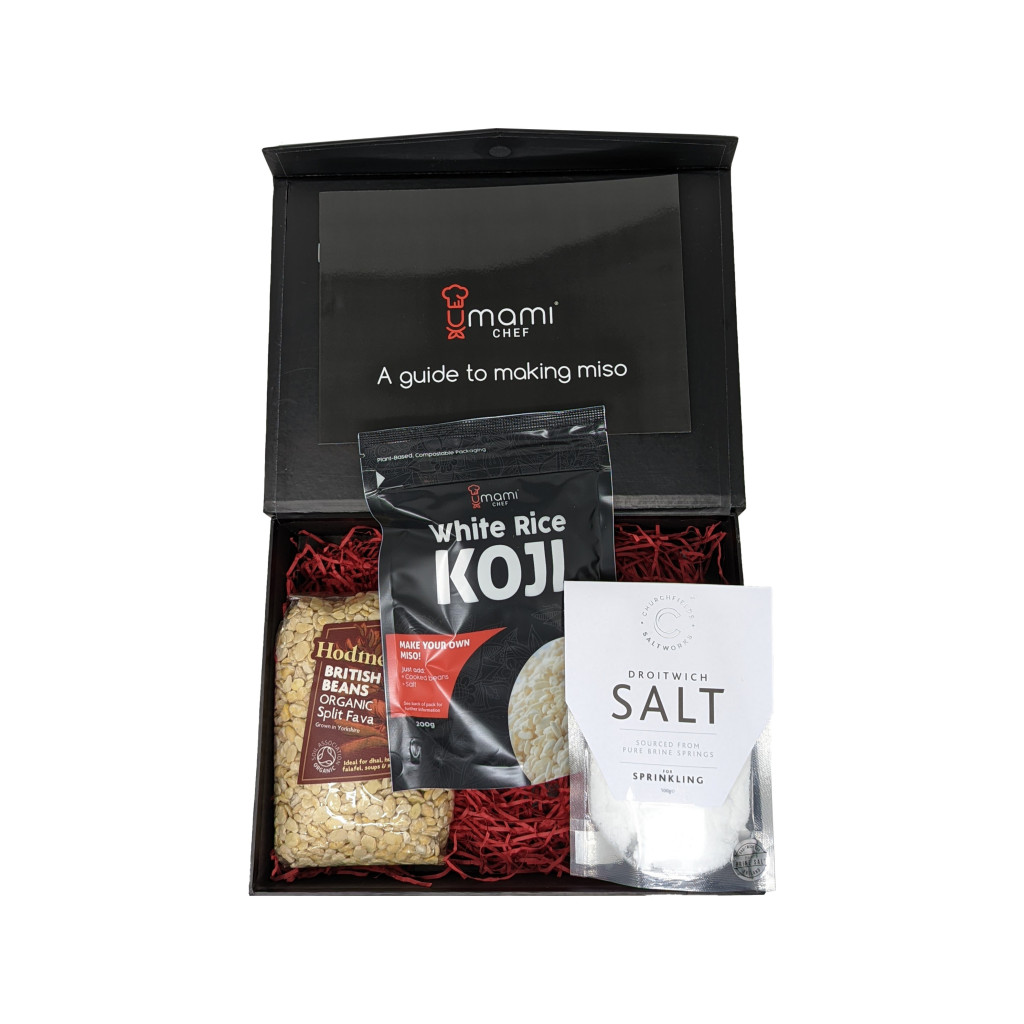
- 100 g koji
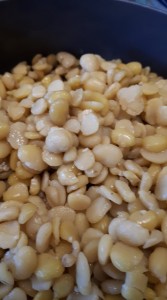
- 50 g cooked rice
Instructions
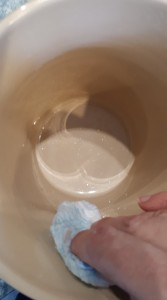
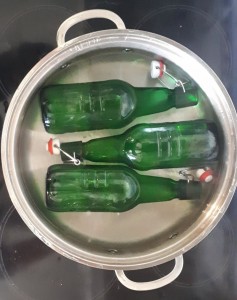
- It is really important that all equipment is sterilised before use. Amazake is normally made at 60°C, which helps to prevent dangerous bacteria from growing. Cold brewing is much more likely to result in bacterial growth, so special care must be taken to ensure everything is spotlessly clean before making amazake in this way. I boiled the jars/bottles/spoons in water before use. Other methods of sterilisation are good (eg. commercially available sterilising solutions), but double check they are safe for use on metal/plastic, if that is what you're using.

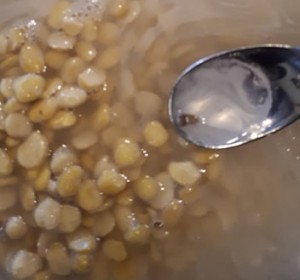
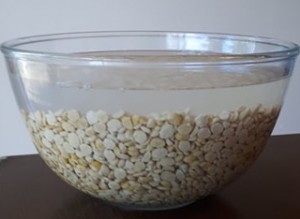
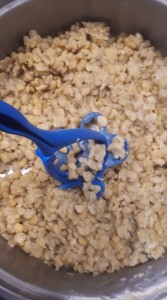
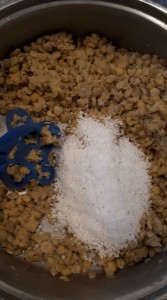
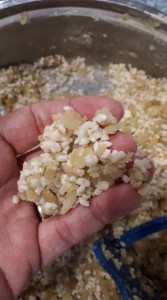
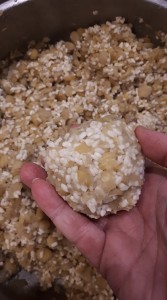
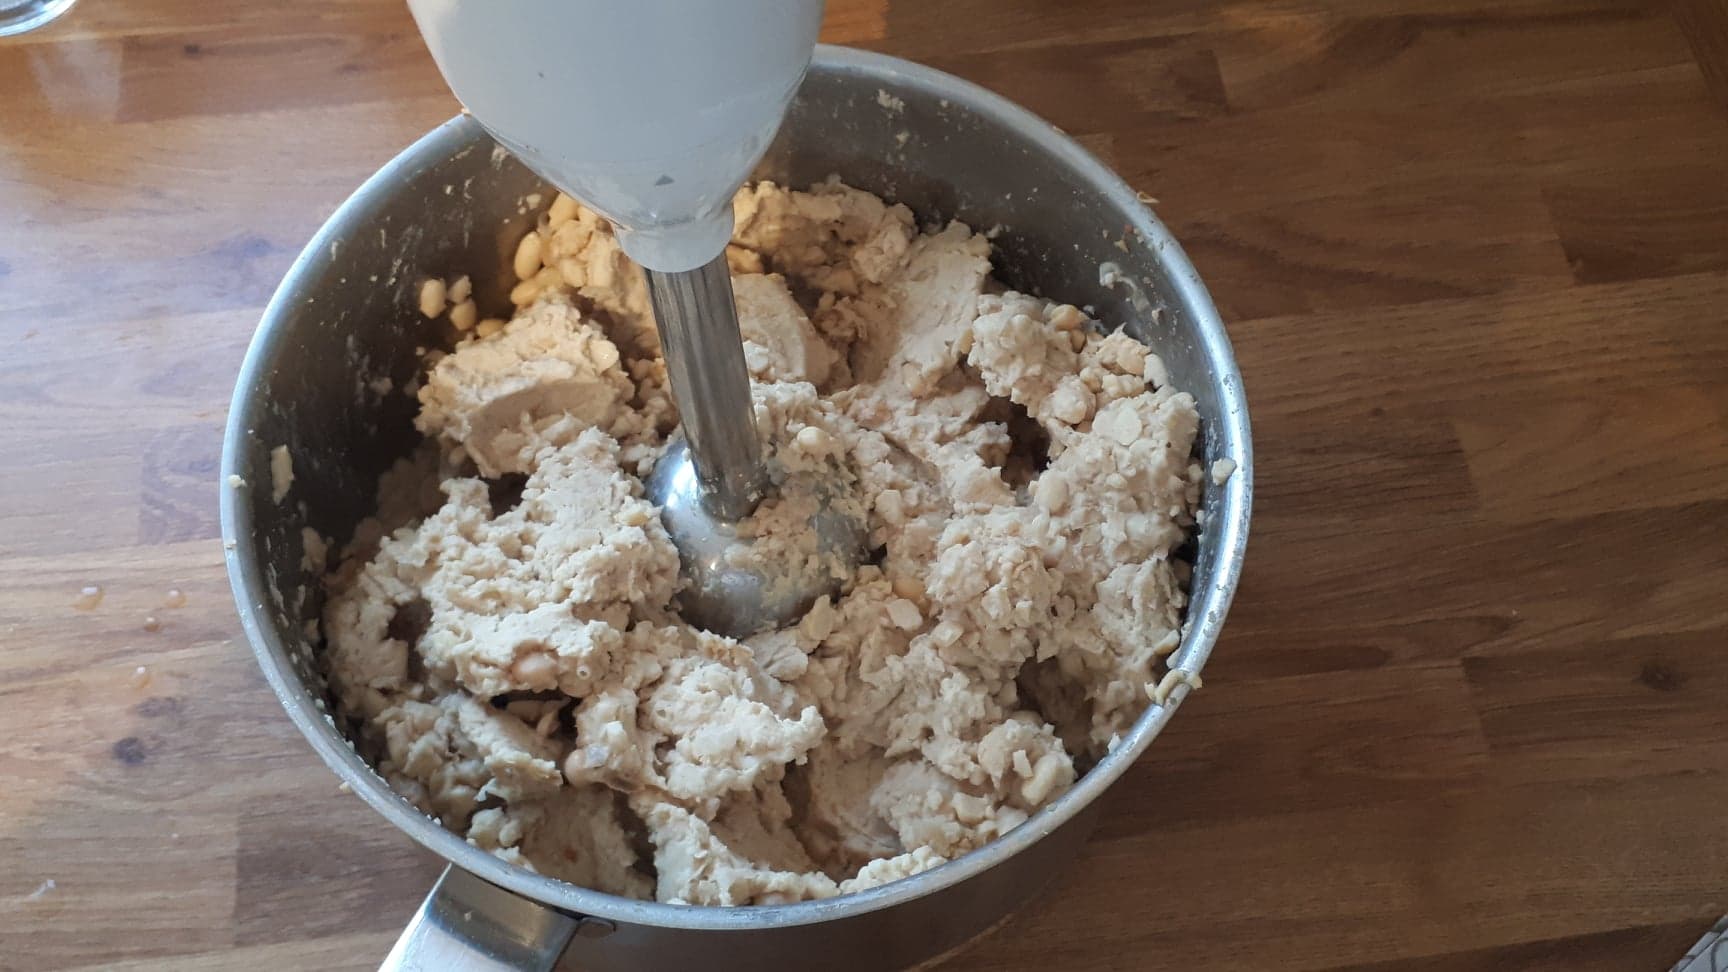
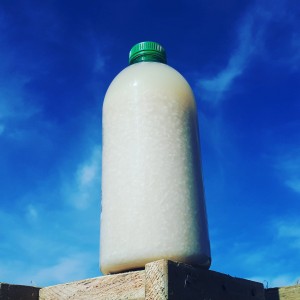
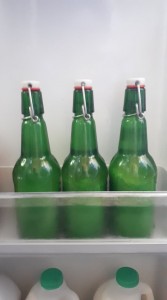
- Add the koji, cooked rice (any type of rice is fine, see notes below) and boiled water (which has been cooled to room temperature) to each bottle (the amounts can be scaled up/down for different sized bottles) This can be quite fiddly for small necked bottles - like the ones I used! I recommend using a wider necked jar.
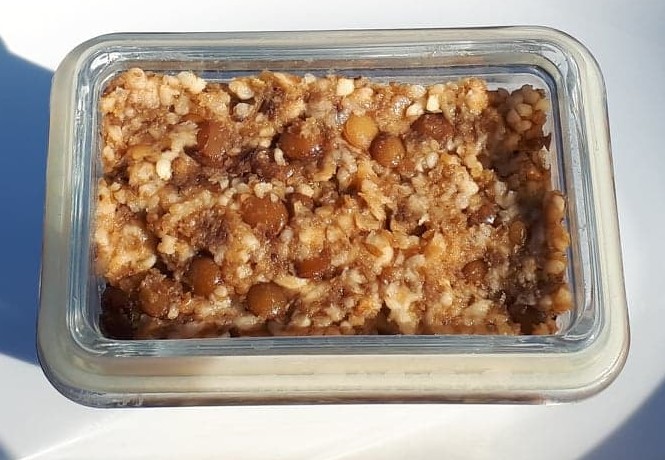
- Store in the fridge for one week.

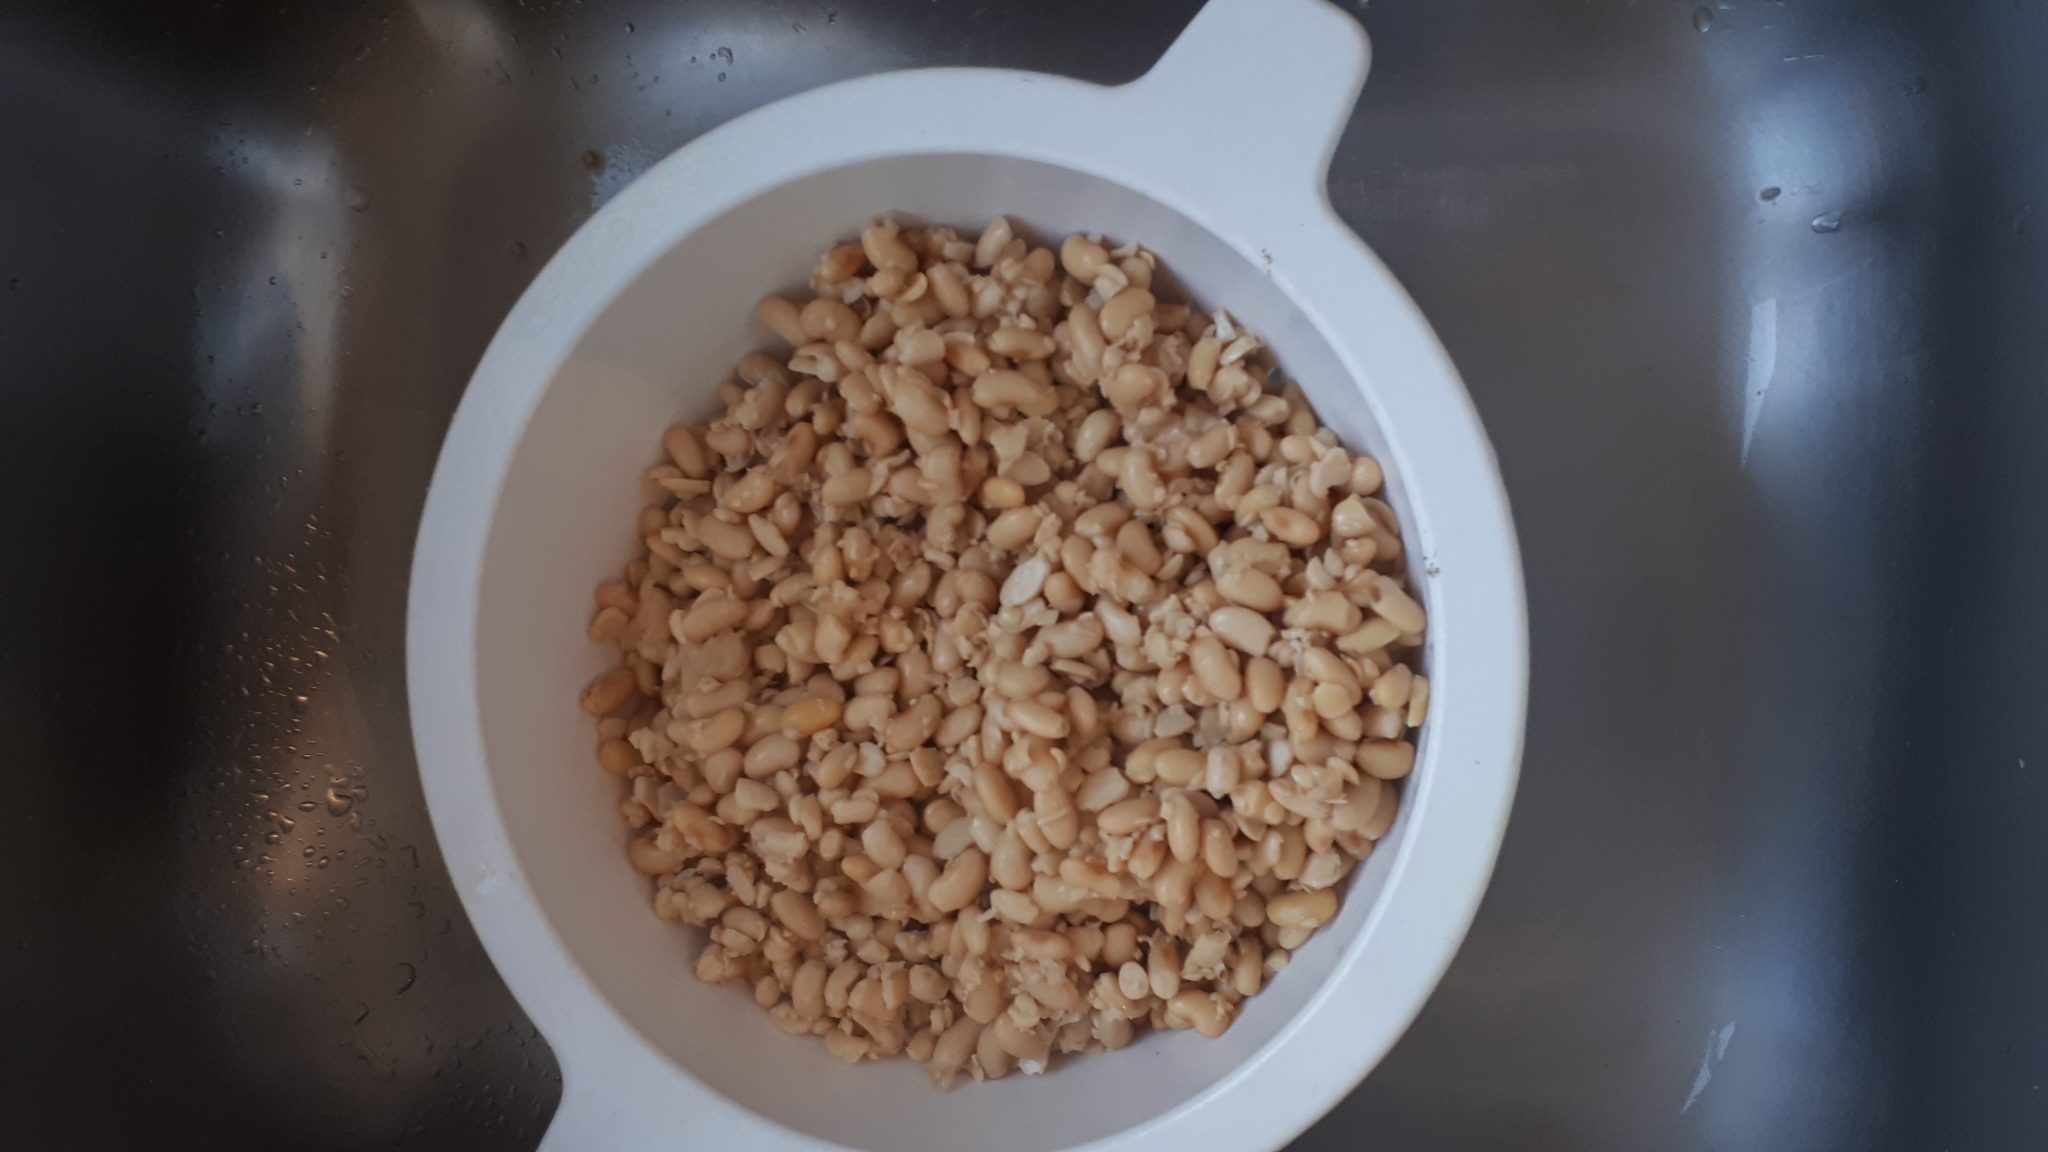
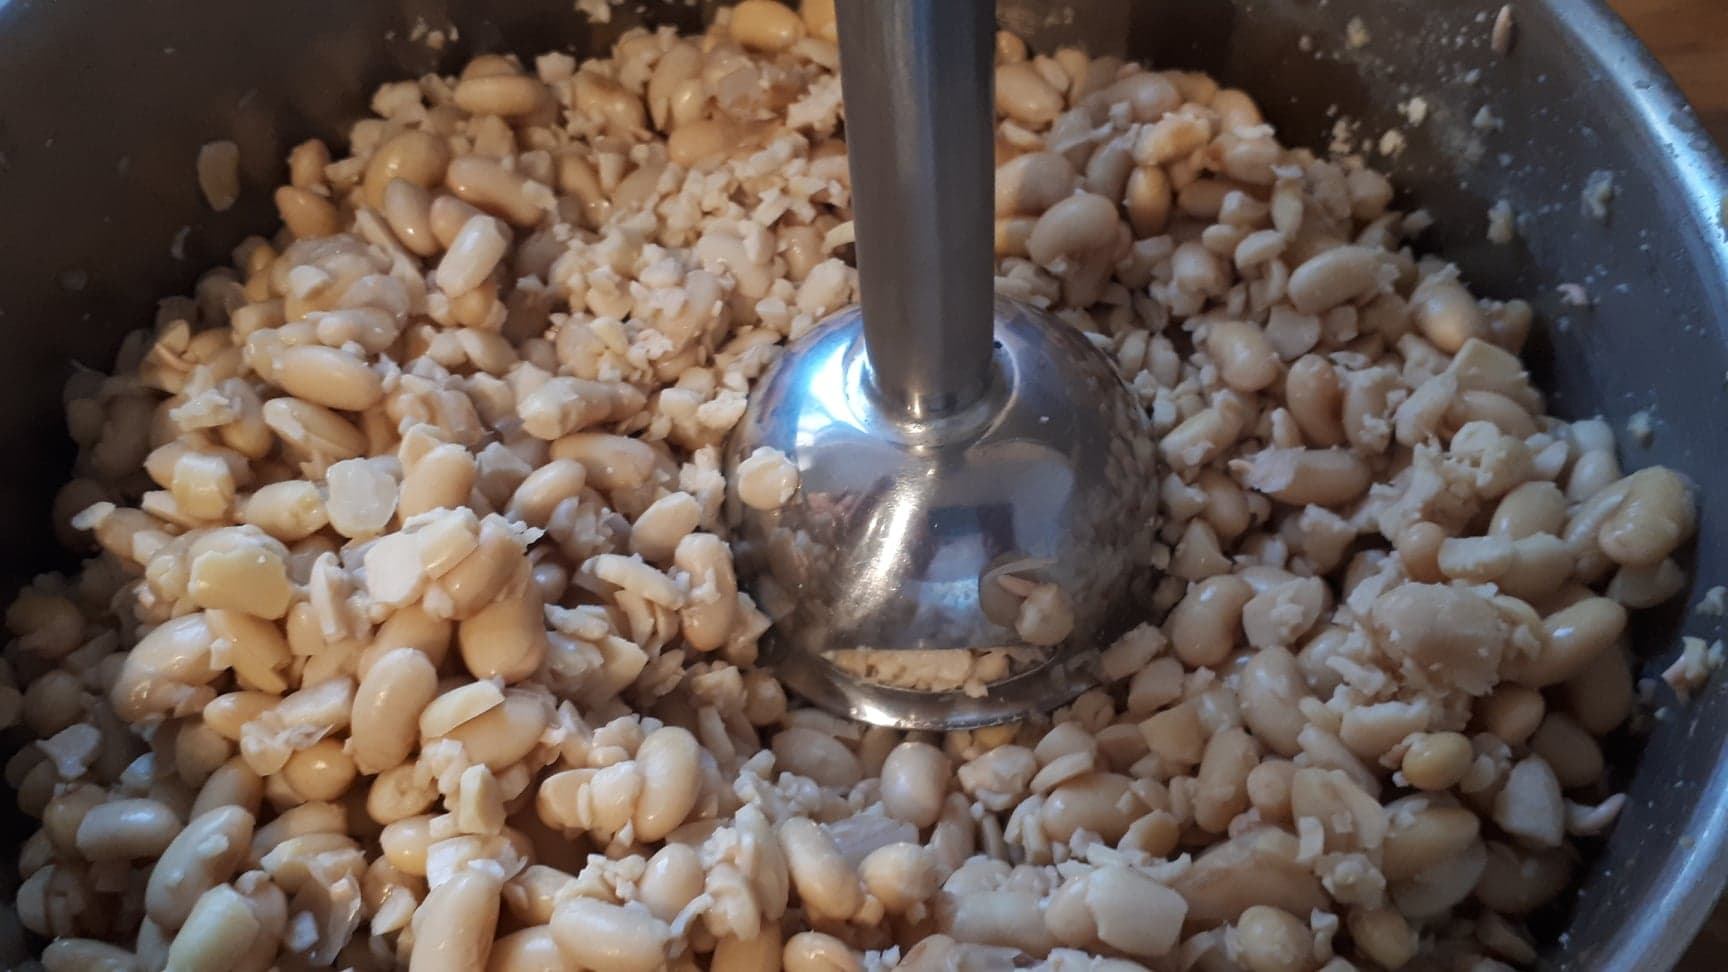
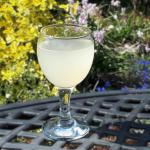
- The amazake is now ready! You can drink it as it is. FIlter the rice out for a clear, crisp drink that is delicious cold. Blend the rice in, for a creamy drink that is delicious hot. Or experiment with adding different flavours - eg cinnamon to hot, creamy amazake or fruit syrups to cold filtered amazake. Enjoy!