Shio koji is a fantastic marinade for vegetables. This recipe shows how it can be used to enhance the flavour of butternut squash; creating a dish which can be eaten both hot and cold. These delicious rolls can be stuffed with a filling of your choice and then used for lunch or as part of a larger meal.

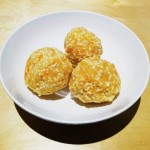
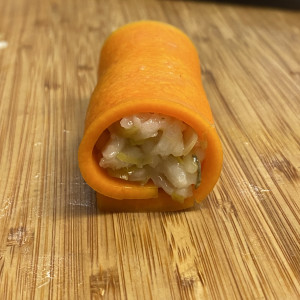
Butternut Squash Rolls
A delicious savoury dish with can be served either hot or cold, as a main dish with yoghurt or as an accompaniment to a main dish.
Servings: 4
Ingredients
- 1 butternut squash
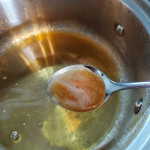
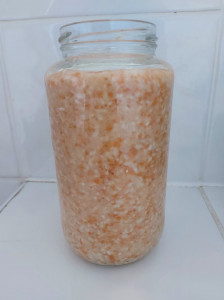
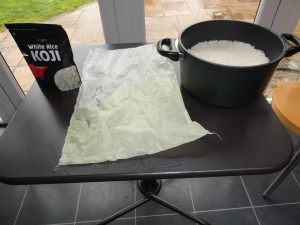
- 100 ml Umami Chef Filtered Shio koji
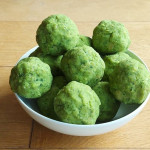
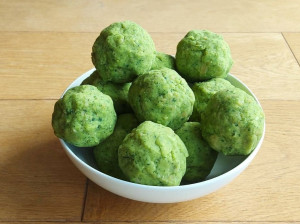
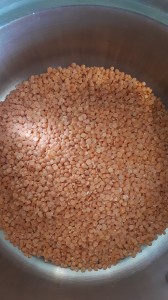
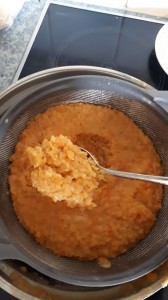
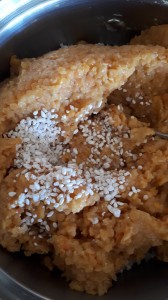
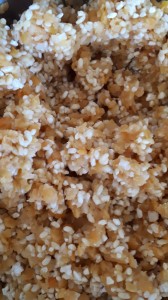
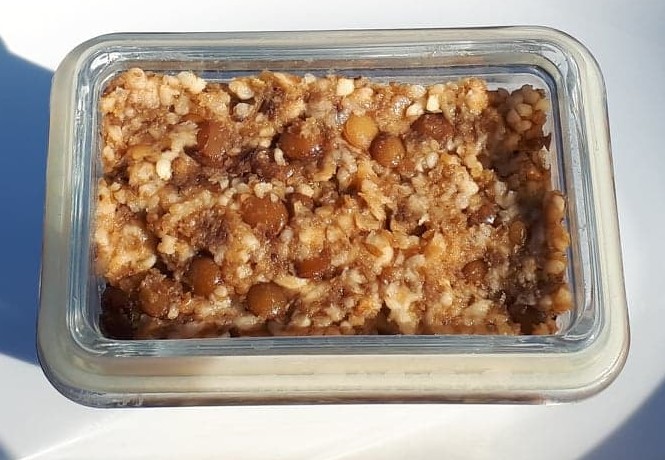
- 400g Leek and Sage Risotto
Instructions
- Cut the bottom (the bit with seeds) off a medium to large butternut squash. As we are going to use the top half only in this recipe, you are free to use the bottom half as you wish.
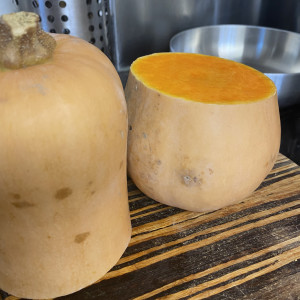

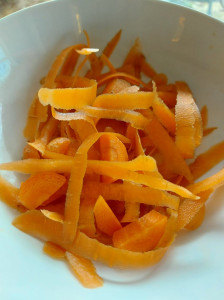
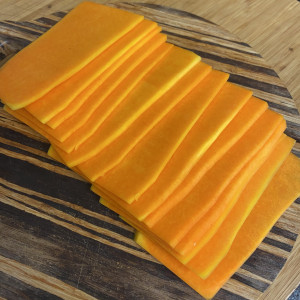
- Remove the skin with a sharp knife or peeler

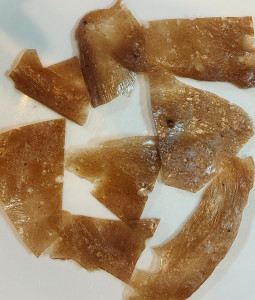
- Slice finely longways, ending up with pieces of even thickness.
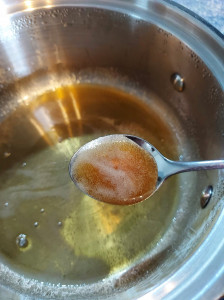
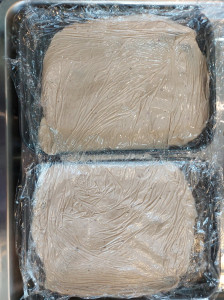
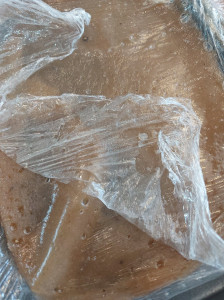
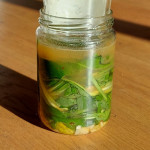
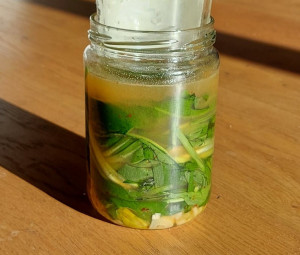
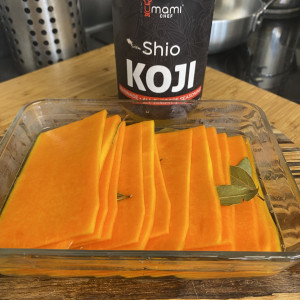
- Marinate the butternut squash in Umami Chef® Shio Koji for 4 hours, turning once mid-way through. Interleave the slices with herbs of your choice, we used bay leaves in this case as they marry well with the stuffing.
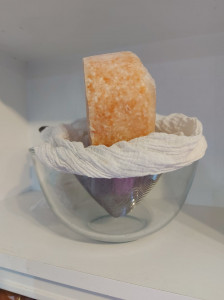
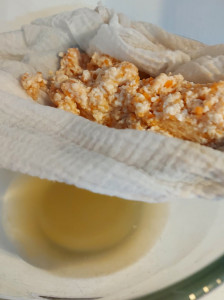
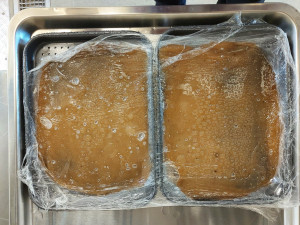
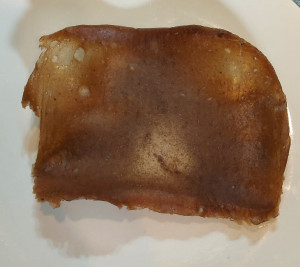
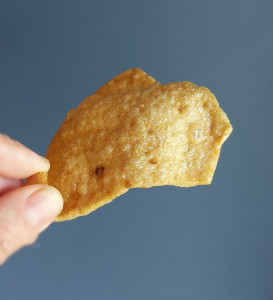
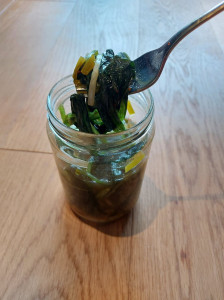
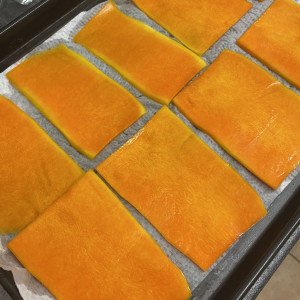
- Drain the marinated slices, put flat on a baking tray and dry uncovered in a cool place for approx. 4 hours until shiny.
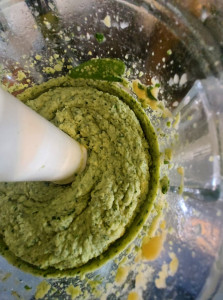
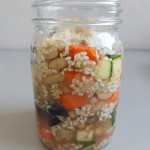
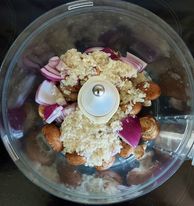
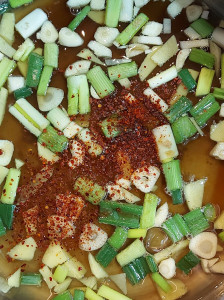
- Meanwhile, make the filling. We made a leek and sage risotto, but you could use whatever vegetables you wished, or fish or chicken so long as cooked before it goes into the roll. Note: bring risotto just to al dente as the cooking continues when in the roll.To fill and roll, simply take a slice, heap up filling across the middle and roll up, pushing the mixture firm from both ends.
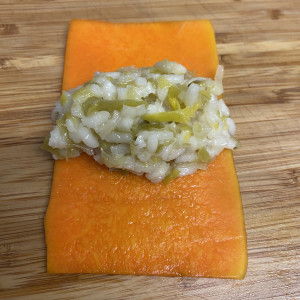
- Allow a centimetre overlap of roll underneath, which aids their stability in cooking. Note: the amount of filling varies depending on the size of the roll – we used 2 – 2½teaspoons per slice.
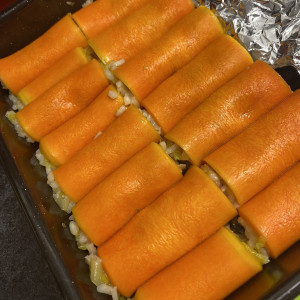
- Gently place the filled rolls in a baking dish, add salt-free vegetable stock up to approx ¼ ofthe roll, cover and place in a 150°C oven for 10-15 minutes depending on their size, then uncover the rolls and cook for a further 5 mins to dry out the top surface a little.