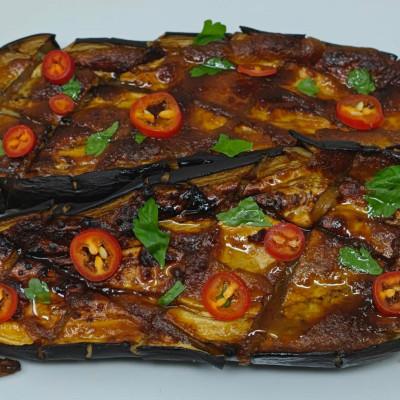
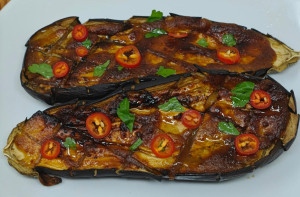
Garlic Miso – Maple Aubergine

This baked aubergine is a twist on the miso aubergine (nasu dengaku) served in Japan. It is very easy to make and can easily be scaled if you have guests. Serve with rice for a light lunch, or as part of a Japanese-style banquet.
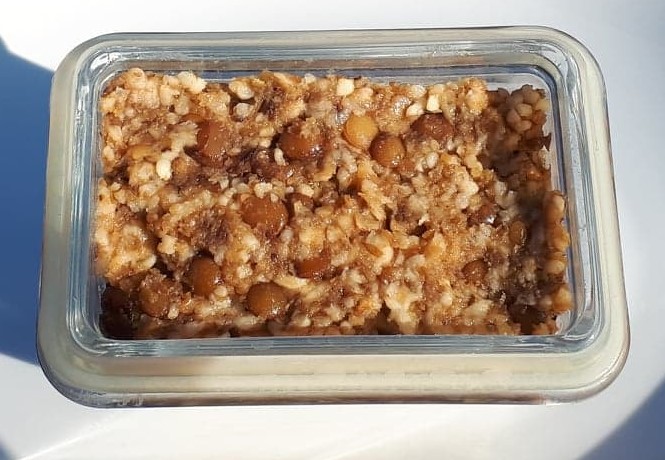
The miso – maple sauce can also be spooned over roasted vegetables or as an unusual topping for jacket potato!

Garlic Miso – Maple Aubergine

Delicious aubergine side dish, combining the perfect balance of sweet maple syrup and savoury garlic miso.
Prep Time15 minutes
Cook Time40 minutes
Course: Side Dish
Cuisine: Fusion
Keyword: aubergine, maple syrup, miso
Servings: 2
Author: Umami Chef

Equipment

  • Oven

Ingredients

  • 1 aubergine
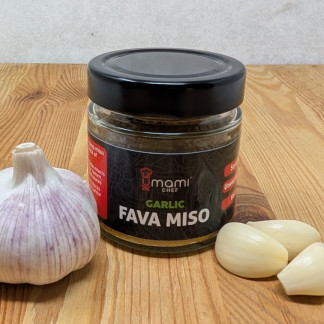
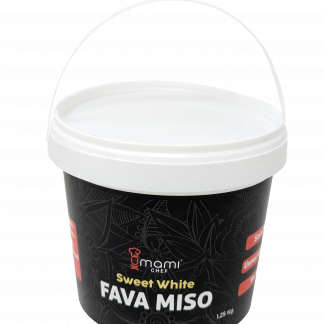
  • 1 tbsp Umami Chef Garlic Miso
  • 1/2 tbsp Toasted Sesame Oil
  • 1/2 tbsp Dark Maple Syrup

Instructions

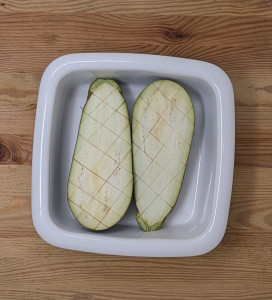
  • Cut the aubergine in half and score in a crosshatch pattern
  • Bake at 180C for 20 minutes
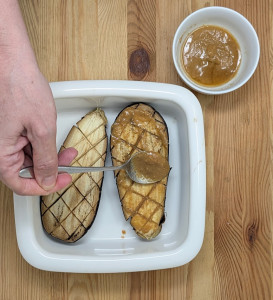
  • Whilst the aubergine is cooking, mix together the miso, sesame oil and maple syrup in a small bowl
  • Spread the miso mixture onto the part cooked aubergine.
  • Bake for a further 10 – 15 minutes, until golden brown.

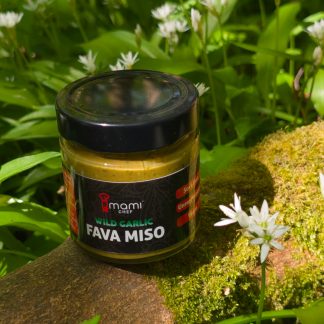
Wild Garlic Miso

A delicious miso that makes the most of wild garlic when it is in season. This miso will be perfect for making ramen base or miso soup – just pop a heaped teaspoon into 250ml of hot stock and you’ll have an instant warming drink.

Wild Garlic Miso

A delicious miso that makes the most of wild garlic when it is in season. This miso will be perfect for making ramen base or miso soup - just pop a heaped teaspoon into 250ml of hot stock and you'll have an instant warming drink.
Prep Time1 hour
Cook Time1 hour
Fermenting Time28 days
Course: Ingredient
Cuisine: Fusion
Keyword: Koji, miso, wild garlic

Ingredients

  • 1 Kg Cooked Fava Beans made by cooking 500g dried fava beans
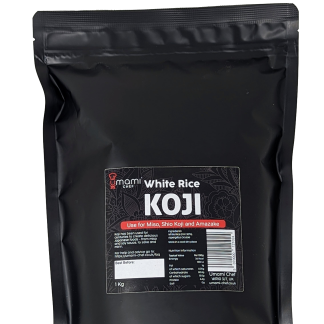
  • 200 g Umami Chef White Rice Koji
  • 84 g Salt
  • 100 g Wild Garlic

Instructions

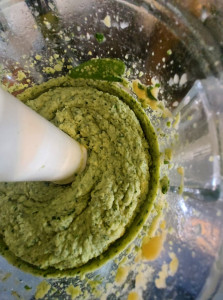
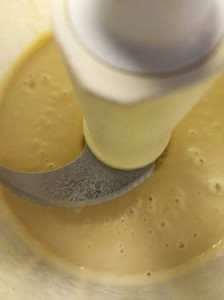
  • Blend all the ingredients in a food processor
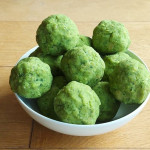
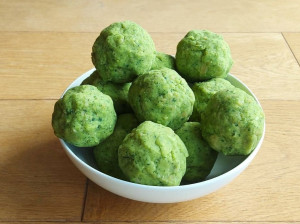
  • Form into balls
  • Squash into a jar, removing all air bubbles
  • Sprinkle surface with salt
  • Leave in a warm place for 3 - 4 weeks
  • Enjoy!

Brown Butter Miso Spread

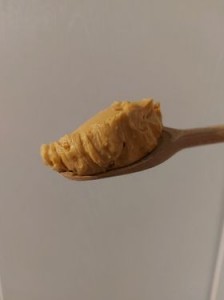
I think this might be my favourite thing to make with miso. It tastes like condensed milk and toffee, with a depth of savouriness that is impossible to describe.  It’s so delicious I’ve been eating it straight from the jar – not something I advise as it is basically just butter, cream and miso!!

This brown butter spread can be used in all your cake/biscuit recipes to replace the normal butter – giving all your bakes an extra depth of flavour that will impress even the most sceptical of miso eaters. Or it can be spread onto pancakes, waffles, or anywhere else you need butter with an extra special quality.

This recipe was given to me by the incredibly knowledgeable Cooking with Q. Follow him on YouTube or Instagram for lots more ideas for cooking with fermented foods. 

Print Recipe
5 from 1 vote

Miso Brown Butter Spread

This butter will add an amazing depth of flavour to all cakes or biscuits - or you can spread it on pancakes/waffles. You can even eat it straight from the jar!
Prep Time10 minutes
Cook Time30 minutes
Course: Ingredient
Cuisine: Fusion
Keyword: Butter, miso, spread

Ingredients

  • 300 g double cream
  • 300 g unsalted butter
  • 75 g light olive oil
  • 200 g miso (a sweet white miso gives a sweeter taste; whilst a darker aged one will give one with a deeper flavour)
  • 75 g water
  • 5 g lecithin

Instructions

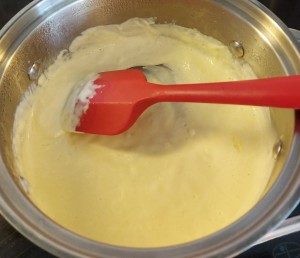
  • Gently boil the double cream until most of the water has evaporated and the cream begins to change colour.
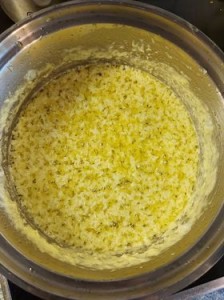
  • Add the butter and continue to boil, stirring frequently. It will look as though it has curdled, but don't worry - this is normal!
  • When the butter begins to change remove from the heat and transfer to a heatproof bowl to cool.
    Brown butter
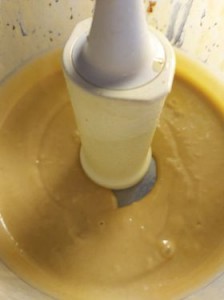
  • Whilst the butter is cooling, add the miso, water and lecithin to a blender and blend until smooth. With the blender still running, slowly pour the oil into the mixture.
  • When the butter has cooled, slowly add the butter mixture to the running blender, ensuring all solids are transferred across too.
  • You can now transfer the mixture to a freezer for long term storage or whip it with a hand mixer to produce a fluffy pale mixture - which can be used straight away or stored in a fridge for a few weeks.