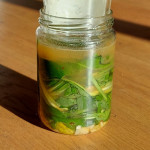
Wild Garlic Preserved in Simmered Shio Koji

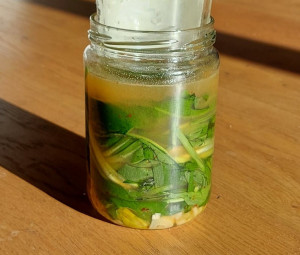
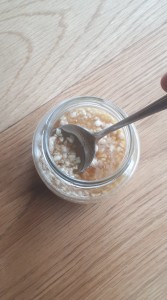
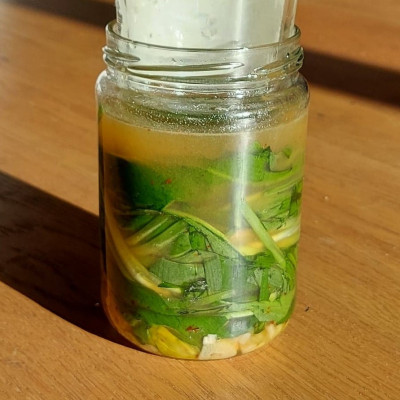
Wild garlic in shio koji

A twist on the Korean, Kkaennip Jorim – which normally uses perilla leaves. This version uses wild garlic, but you could use other similar leaves – like spinach, chard or the original perilla leaves.

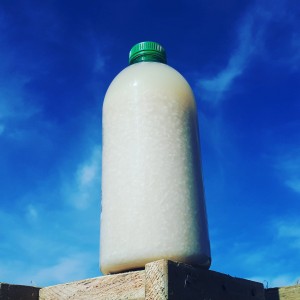
I also used strained shio koji instead of soy sauce – creating a gluten free, soy free side dish. Strained shio koji is obtained by filtering out the rice solids from shio koji. This can be done with a strainer or filter, to produce a clear liquid. You could use a light soy sauce instead.

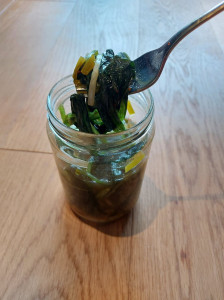
The finished product is a delicious side dish. Perfect simply served with plain boiled rice, or with a range of other Korean dishes.

Wild Garlic Preserved in Simmered Shio Koji

A twist of the Korean side dish Kkaennip Jorim, this side dish uses wild garlic instead of perilla leaves.
Prep Time5 minutes
Cook Time15 minutes
2 days
Course: Side Dish
Cuisine: Korean
Keyword: shio koji, wild garlic
Servings: 10

Ingredients

  • 150 ml strained shio koji Remove the rice solids from shio koji with a filter/strainer to create a clear liquid. Or use a light soy sauce.
  • 3 cloves garlic roughly chopped
  • 2 cm ginger peeled and roughly chopped
  • 4 spring onions chopped
  • 2 tbsp brown sugar
  • 1 tsp Korean chilli flakes
  • 200 g wild garlic

Instructions

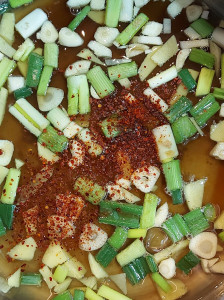
  • Add all the ingredients, except the wild garlic to a sauce pan and simmer for 15 minutes
  • Leave to cool
  • Transfer to a jar and then add the wild garlic
  • Add a weight, to ensure nothing floats above the surface
    Wild garlic in shio koji
  • Leave for at least two days, then enjoy as a side dish

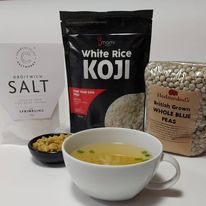
Blue Pea Miso Soup

This quick, sweet miso makes a soup that tastes just like a British Green Pea soup. Once the miso has matured the soup is ready in the time it takes to boil a kettle.

Blue Pea Miso

This quick, sweet miso makes a soup that tastes just like a British Green Pea soup. Once the miso has matured the soup is ready in the time it takes to boil a kettle.
Course: Ingredient
Cuisine: British, Japanese
Keyword: miso, soup

Ingredients

Instructions

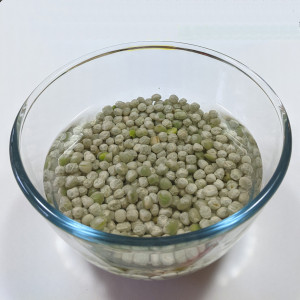
  • Place the peas in a bowl, cover with water, then leave to soak in a fridge overnight
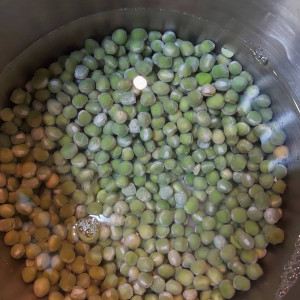
  • Rinse the peas, transfer to a saucepan and then boil gently, until soft (approx 45 minutes)
  • Drain, then leave to peas to cool. Once cool, add the koji and salt.
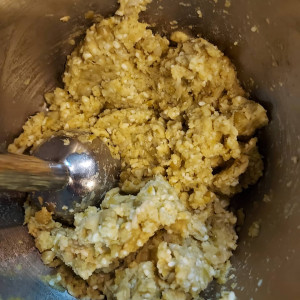
  • Blend until well combined. If using for a soup a smooth paste is best, but feel free to leave chunky if you're using the miso in other ways.
  • Press the miso into a clean jar, ensuring all air pockets are removed. Then lightly sprinkle surface with salt. Cover (eg. with a muslin secured with an elastic band), then place in a warm place (eg. in an airing cupboard) for 10 days.
  • After 10 days, scrape off the salt and transfer to a fridge. To make the soup, just stir a tablespoon of miso into a mug of stock.

Brown Butter Miso Spread

I think this might be my favourite thing to make with miso. It tastes like condensed milk and toffee, with a depth of savouriness that is impossible to describe.  It’s so delicious I’ve been eating it straight from the jar – not something I advise as it is basically just butter, cream and miso!!

This brown butter spread can be used in all your cake/biscuit recipes to replace the normal butter – giving all your bakes an extra depth of flavour that will impress even the most sceptical of miso eaters. Or it can be spread onto pancakes, waffles, or anywhere else you need butter with an extra special quality.

This recipe was given to me by the incredibly knowledgeable Cooking with Q. Follow him on YouTube or Instagram for lots more ideas for cooking with fermented foods. 

Print Recipe
5 from 1 vote

Miso Brown Butter Spread

This butter will add an amazing depth of flavour to all cakes or biscuits - or you can spread it on pancakes/waffles. You can even eat it straight from the jar!
Prep Time10 minutes
Cook Time30 minutes
Course: Ingredient
Cuisine: Fusion
Keyword: Butter, miso, spread

Ingredients

  • 300 g double cream
  • 300 g unsalted butter
  • 75 g light olive oil
  • 200 g miso (a sweet white miso gives a sweeter taste; whilst a darker aged one will give one with a deeper flavour)
  • 75 g water
  • 5 g lecithin

Instructions

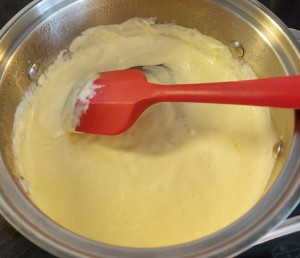
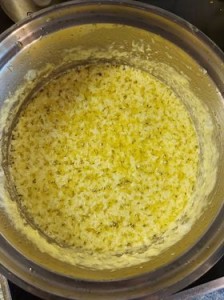
  • Gently boil the double cream until most of the water has evaporated and the cream begins to change colour.
  • Add the butter and continue to boil, stirring frequently. It will look as though it has curdled, but don't worry - this is normal!
  • When the butter begins to change remove from the heat and transfer to a heatproof bowl to cool.
    Brown butter
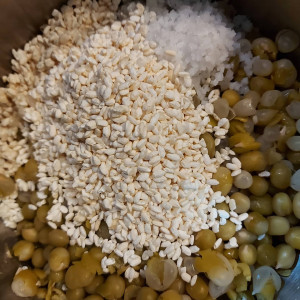
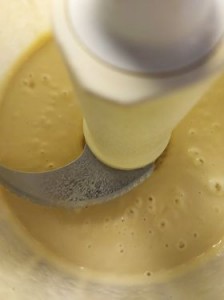
  • Whilst the butter is cooling, add the miso, water and lecithin to a blender and blend until smooth. With the blender still running, slowly pour the oil into the mixture.
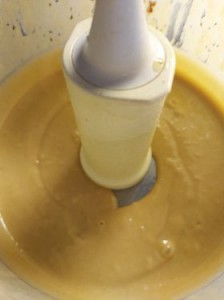
  • When the butter has cooled, slowly add the butter mixture to the running blender, ensuring all solids are transferred across too.
  • You can now transfer the mixture to a freezer for long term storage or whip it with a hand mixer to produce a fluffy pale mixture - which can be used straight away or stored in a fridge for a few weeks.

Koji Beer

Koji Ber

Koji beer is a fusion of east and western styles of beer. Sake is generally called a rice wine but it is in fact more like a beer than wine. It is made using rice and top quality koji and this formed the “Eastern” element of the brew. When making sake, only rice and koji are used and a special yeast which can reach the 18-20% ABV levels in sake (although it is often diluted down to 15% when sold commercially).

The Western part of the brew was a mash made using extra pale malted barley and flavoured with Saaz hops (which are used in European beers like Hoegaarden). These two elements were blended together and fermented using an American yeast which gives a crisp finish. This is a truly international beer!

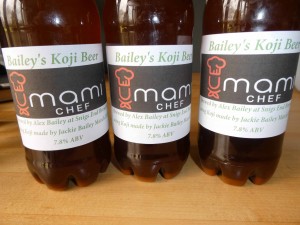
The final ABV of the beer was 7.8% which places it fairly well up the normal beer ABV range of 3 to 9%. It fermented most of the sugars out to give a fairly dry finish similar to traditional ciders but without the astringency. This is a very different tasting beer and one which goes well with dishes made using koji.


Koji Beer

A beer made using koji rice, giving a dry, sour characteristic to the beer
Course: Drinks
Keyword: beer

Ingredients

  • 1 kg flaked rice
  • 400 g Umami Chef koji
  • 2 kg Simpsons Extra Pale Malt
  • 1 SafAle US05 Yeast
  • Saaz leaf

Instructions

Rice Preparation

  • Wash the rice and then add at least 2 litres of water.
  • Leave to soak in a fridge overnight.
  • Rinse and then boil for 20 minutes.
  • Drain the rice and then leave it to cool.

Koji Fermentation

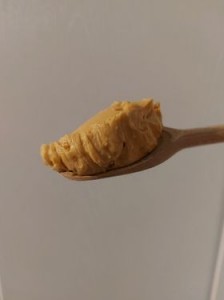
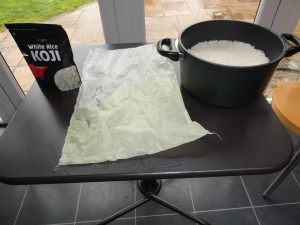
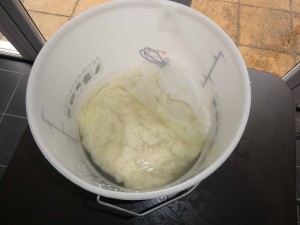
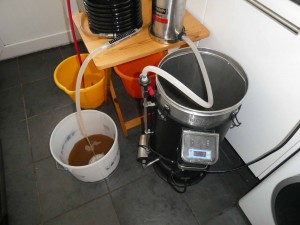
  • Add the rice and the koji to the nylon bag. Place the tied nylon bag into a 3 gallon fermentation vessel.
  • Cover with 3 litres of cooled, boiled water.
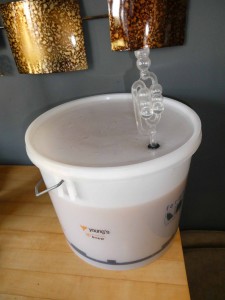
  • Place a lid with an airlock on top and leave at room temperature (21'C) for 4 days.
  • Filter the rice from the liquor.

Beer

  • Make the beer with 2kg of Simpsons extra pale malt and saaz hops in a kettle ready mash at 66'C. 25g of saaz leaf is used as a bittering hop, boiling for 60 minutes. Add a further 15g with 15 minutes to go and 10g with 5 minutes to go. (Note: The initial gravity of this wort was 1055.)
  • Add the liquor from the koji (3.3 litres) (Note: The initial gravity of the koji liquor was 1072 and when combined it was 1063) Giving a total volume of about 11 - 12 litres
  • Add SafAle US05 Yeast and fit a lid with fermentation lock.
  • Leave to fermet out, about 5 days. (Note: Final gravity 1004 - giving 7.8% ABV)
  • Rack off the beer and add 60g priming sugar before bottling.
  • Leave to condition for 10 weeks.

Mirin Recipe

Mirin

Mirin is a sweet wine used in Japanese cookery. In the UK we’re most familiar with its use in teriyaki sauce, but it is used in a wide range of other Japanese dishes.

Traditionally mirin is made from shochu, a Japanese spirit usually made from sweet potato. Shochu is difficult (and expensive) to get hold of  in the UK, so I’ve used vodka.

It’s really easy to make – just mix koji, cooked rice, and a neutral tasting spirit. Then leave at room temperature for 2 – 3 months. I mixed 300ml vodka, 100g koji and 100g of cooled, cooked rice. 

After 3 months the mirin develops a rich golden colour. At this stage you can strain off the solids or leave it to mature further. I like to leave the solids in the liquid, carefully pouring off the amount I’d like to use for each recipe. This means I get the best of both worlds – the ability to use it now and for it to mature further with time.

Much of the mirin available in the UK is made from sweetners and not produced in the traditional way. By creating your own mirin you get to experience a product that is naturally fermented and rich in nutrients.

Print Recipe
5 from 1 vote

Vodka Mirin

Mirin is a sweet wine used in Japanese cookery. It is easy to make and much tastier than commercially available products which are no longer produced in the traditional way.
Prep Time10 minutes
Fermentation Time90 days
Course: Ingredient
Cuisine: Japanese
Keyword: Koji, mirin, rice wine

Ingredients

  • 300 ml vodka
  • 100 g koji
  • 100 g cooked rice cooled

Instructions

  • Mix the ingredients in a clean bottle
  • Leave to mature for 3 months
  • Strain off the solids and enjoy the mirin in teriyaki or your favourite Japanese dish

Red Lentil Miso

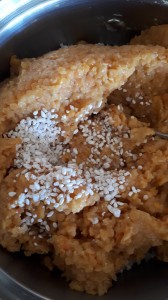
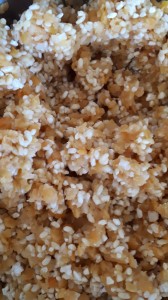
Red lentil miso is probably the quickest miso you can make – you don’t need to soak the beans overnight and the lentils cook in under 20 minutes. Then it’s just a case of mixing the cooled lentils with koji and salt and pressing into a jar. 

This miso will probably be at its best after about 4 months, but will be ready faster if the temperature is especially warm (higher than 30°C) or longer if the temperature is less than 20°C.

This red lentil miso is a delicious sweet miso that works especially well in soups and salad dressings.

Red Lentil Miso

Probably the easiest miso to make!
Prep Time30 minutes
Maturing Time120 days
Cuisine: Japanese
Keyword: miso, red lentils

Ingredients

Instructions

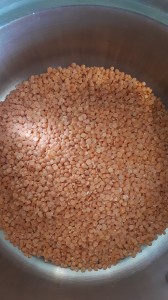
  • Weigh out the lentils and then cook until soft
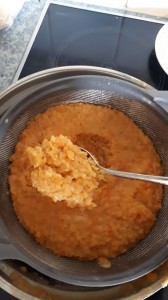
  • Drain them well, trying to remove as much water as possible.
  • Once the lentils are cool, mix in the koji and salt.
  • Ensure the koji and salt and evenly distributed through the mixture
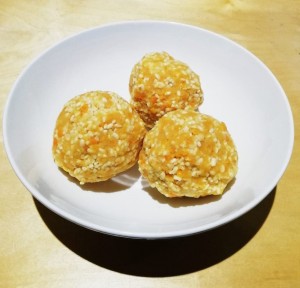
  • Form the mixture into balls, squeezing out as much air as you can. If the balls crack and fall apart the mixture is too dry and a small amount of cooled, boiled water should be added. If the balls ooze water, place in a muslin cloth and try to squeeze out as much as possible.
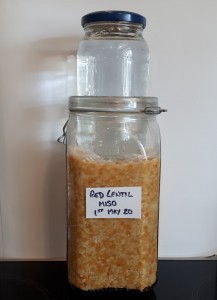
  • Press the balls into a clean jar, removing as much air as possible. Then sprinkle the surface with a layer of salt. Add a weight to the top of the miso, to squeeze out as much air and liquid as possible, Then leave at room temperature for 4 months

Cold Brew Amazake

Filtered Cold Brew Amazake

Amazake is a traditional Japanese drink made from koji. It can be drunk ice cold in Summer, or gently heated to provide a delicious warm drink in Winter.

It has recently been labeled as a super food due to it’s high nutritional content – including complex B vitamins and all the amino acids the body needs. It also contains oligosaccharide, a prebiotic important for gut health. 

Amazake is normally made (see the Traditional Amazake Recipe) by holding a mixture of koji, rice and water at 60°C, but this requires specialist equipment.  If you’d like to make amazake at home, using just a fridge, then you have to wait a little bit longer for your amazake to be ready (7 days) but it is well worth the wait!

It is really important that all equipment is sterilised before use. Amazake is normally made at 60°C, which helps to prevent dangerous bacteria from growing. Cold brewing is much more likely to result in bacterial growth, so special care must be taken to ensure everything is spotlessly clean before making amazake in this way.

  • Sterilise all equipment before use.
  • Ensure the fridge is kept cool (3- 4°C)
  • Keep the amazake tightly sealed throughout the brewing process, to prevent bacteria from entering.
  • Minimise the amount of air inside the brewing vessel by using the right sized vessel for the amount you’re brewing – you can add some extra cooled, boiled water to top up vessel if required.

If you follow strict hygiene practices you should create a safe, delicious, nutritious drink. But if you want to be extra cautious you could boil your amazake before drinking to ensure no nasties are present.

Which rice to use?

Any type of rice can be used to make amazake. In fact, you can even replace the rice with another source of carbohydrate, like oats, quinoa or buckwheat. Brown rice will result in a darker, nuttier flavour drink; whilst white rice tends to be a cleaner, sweeter flavour. Traditionally, amazake is made with mochi rice – this is a short grain Japonica rice, which is especially glutinous (sticky, not containing gluten) But just start with whatever is easiest for you to source and experiment from there.

Cold Brew Amazake

Amazake is normally made quickly, at 60°C. This recipe enables those without the ability to hold food at 60°C to make amazake at home in the fridge.
Prep Time30 minutes
7 days
Total Time7 days 30 minutes
Cuisine: Japanese
Keyword: amazake, Koji

Ingredients

  • 250 ml water boiled, then cooled
  • 100 g koji
  • 50 g cooked rice

Instructions

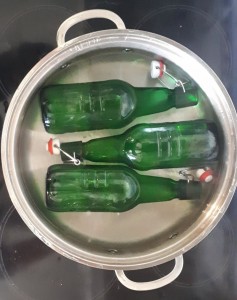
  • It is really important that all equipment is sterilised before use. Amazake is normally made at 60°C, which helps to prevent dangerous bacteria from growing. Cold brewing is much more likely to result in bacterial growth, so special care must be taken to ensure everything is spotlessly clean before making amazake in this way. I boiled the jars/bottles/spoons in water before use. Other methods of sterilisation are good (eg. commercially available sterilising solutions), but double check they are safe for use on metal/plastic, if that is what you're using.
  • Add the koji, cooked rice (any type of rice is fine, see notes below) and boiled water (which has been cooled to room temperature) to each bottle (the amounts can be scaled up/down for different sized bottles) This can be quite fiddly for small necked bottles - like the ones I used! I recommend using a wider necked jar.
  • Store in the fridge for one week.
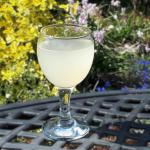
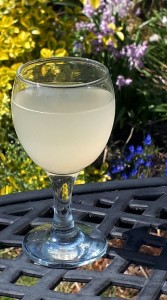
  • The amazake is now ready! You can drink it as it is. FIlter the rice out for a clear, crisp drink that is delicious cold. Blend the rice in, for a creamy drink that is delicious hot. Or experiment with adding different flavours - eg cinnamon to hot, creamy amazake or fruit syrups to cold filtered amazake. Enjoy!
Shoyu Koji

Shoyu koji is made by mixing soy sauce with koji. This means it combines the flavour of soy sauce with the power of koji. Use it in place of soy sauce in any recipe for an extra depth of savoury flavour.

The real power of shoyu koji comes when you use it as a marinade – coating food for a few hours/overnight so the koji can perform it’s magic.

If you use it in a marinade:

  • Carbohydrates (like rice or potatoes) will become sweeter
  • Proteins (like beans or meat) will be broken down into delicious amino acids – which are especially beneficial for our nutrition.
  • Meat will become more tender

It is really simple to make – just mix koji and soy sauce together, then leave at room temperature for 7 days.

If you can’t wait then it is perfectly safe to eat it before the 7 days are up, it just won’t have reached maximum deliciousness!

Shoyu Koji

Use shoyu koji instead of soy sauce in any recipe to add a greater depth of flavour.
Prep Time5 minutes
7 days
Course: Ingredient
Cuisine: Japanese
Keyword: Koji, Soy Sauce

Ingredients

  • 100 g koji
  • 200 ml soy sauce
  • 100 ml water boiled, then cooled to room temperature

Instructions

  • Mix the ingredients together in a jar
  • Place a lid on the jar and leave to ferment at room temperature for 7 days.
  • After 7 days it is ready! At this stage you can either blend it until smooth or sieve to remove the rice. Use instead of soy sauce, to add a rich umami flavour to any dish. Transfer to a fridge, where it can be stored for at least a month.
Notes

Note: The photos in the recipe instructions are using Fava Bean and Toasted Rice Shoyu,  instead of soy sauce. This is much lighter in colour than the traditional Shoyu koji (main post photo) and has the added benefit of being gluten/soy free.
Shoyu koji made from fava bean and toasted rice shoyu is also clear, when filtered from the rice at the end. This means it can be used to add a real depth of flavour to clear liquids, without altering the clarity.


Use Shio Koji to Make The Best Fried Chicken Ever!
More Tender, More Delicious, More Juicy

Shio koji has the ability to tenderise meat, whilst at the same time adding a depth of flavour. This means if you use it to marinade chicken you can create the tastiest chicken nuggets you’ve ever eaten!

The fantastic thing about shio koji is that it doesn’t alter the taste of the chicken – it just makes it taste more “chickeny!”  It adds a depth of savoury flavour (umami) that is irresistible.

The salt in the shio koji has the added benefit of brining the chicken at the same time – making the meat juicier.

The Science Behind It

Koji has the ability to break down the proteins in the chicken, converting them into a range of amino acids which are especially delicious. This breaking down of the proteins also makes the meat more tender.

First Make Shio Koji

To make shio koji, just mix:
 
Blend to form a smooth paste.
 
It can then be used immediately, or left to ferment for one week to improve the flavour. 
 

Adapt the Recipe to Your Taste

The nuggets are delicious without adding herbs and spices to the breadcrumbs, but you can adapt this recipe to use your favourite blends. It works equally well with the KFC blend of spices as it does with a Japanese karaage chicken.

Get Experimenting!

You can’t really go wrong with fried chicken – it tastes delicious whichever spices you decide to use!

Shio Koji Fried Chicken

Chicken marinated in shio koji and then breadcrumbed and deep fried for a succulent fried chicken,
Prep Time30 minutes
Cook Time15 minutes
Marinade Time8 hours
Total Time8 hours 45 minutes
Course: Main Course
Cuisine: Fusion
Keyword: chicken, shio koji

Ingredients

  • 500 g Chicken, cut into bite sized pieces For best results we recommend chicken thigh, but wings, or even breast meat can be used.
  • 100 ml Shio Koji
  • 1 egg beaten
  • 100 g breadcrumbs You can use gluten free bread, if required
  • 100 g plain flour

Instructions

  • Mix the chicken pieces with the shio koji until they are evenly coated.
  • Cover and leave to marinade in a fridge for at least 8 hours
  • Remove the chicken from the shio koji and dip each piece in the flour, then the egg, then finally the breadcrumbs
  • Fry the chicken pieces in a deep fat fryer until golden on the outside and cooked through.

Fava Bean and Toasted Rice Shoyu

This fava bean and toasted rice shoyu is perfect for those who are allergic to soy, or avoiding soy beans for sustainability reasons. It is also gluten-free. 

I’ve developed this recipe to use koji, so there is no need to crack wheat or grow spores in an incubator – that tricky part is avoided/done for you. The hardest thing about this recipe is waiting four months for it to be ready. I failed on that part – removing spoons from the top of the mixture a few weeks before it was officially ready! But as someone who’s allergic to soy and so had to endure years without a delicious, umami filled Japanese sauce I think I can be forgiven.

Print Recipe
5 from 1 vote

Fava Bean and Toasted Rice Shoyu - A Soya Free Soy Sauce

This fava bean and toasted rice shoyu is made in a similar way to soy sauce, but is completely free from soya. It is perfect for those who are allergic to soy, or avoiding soy beans for sustainability reasons. It is also gluten-free.
Prep Time1 hour
Cook Time45 minutes
Maturing Time120 days
Total Time120 days 1 hour 45 minutes
Cuisine: Japanese
Keyword: shoyu, Soy Sauce

Equipment

  • 3 litre jar
  • Sauce pan
  • Muslin
  • Bowl

Ingredients

Instructions

  • Rinse the fava beans, removing any bad ones
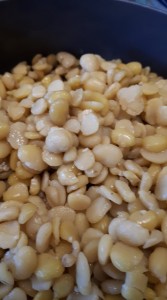
  • Soak them in one litre of cold water for at least 8 hours
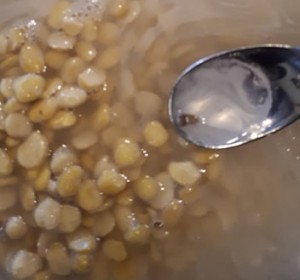
    Soya beans soaking in water
  • Replace the water, pour into a pan, and simmer gently until the beans are cooked (approximately 45 minutes)
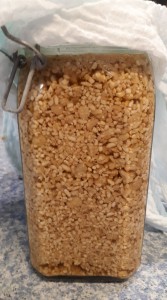
  • Whilst the fava beans are cooking, spread the rice on a baking tray. I used a white sushi rice, but any type of rice will do.
  • Bake the rice at 180'C until it is golden brown. This will take about 20 minutes. Ensure you shake the rice regularly for an even colour.,
  • When the fava beans have cooked, drain them.
  • Add one litre of water, which has been boiled and then allowed to cool slightly, to the 3 litre jar.
    Note: The water is boiled to ensure all bacteria is killed, but ensure it has cooled, as if the water is too hot the jar might crack.
  • Add the salt to the water and stir until dissolved.
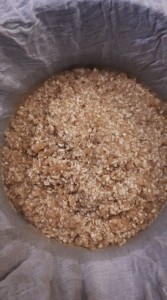
  • Transfer the cooked beans and toasted rice to a 3 litre jar. Mix well.
  • Once the mixture has cooled to below 40'C, add the koji.
    Note: If you don't have a thermometer, just wait until the jar no longer feels warm.
  • Stir well and then cover with a cloth - I used a muslin, which I attached with an elastic band, but you could use a T-Towel and string.
  • Leave the jar at room temperature for about 4 months; stirring every other day for the first week and then weekly after that.
  • After 4 months the colour will have darkened and the liquid will taste delicious! To remove the liquid from the solids, strain through a muslin. Squeezing to remove as much liquid as possible.
  • Pour into a sterilised bottle and then store in the fridge. Use as you would soy sauce.